MOUNT AMA DABLAM - 6,856 M
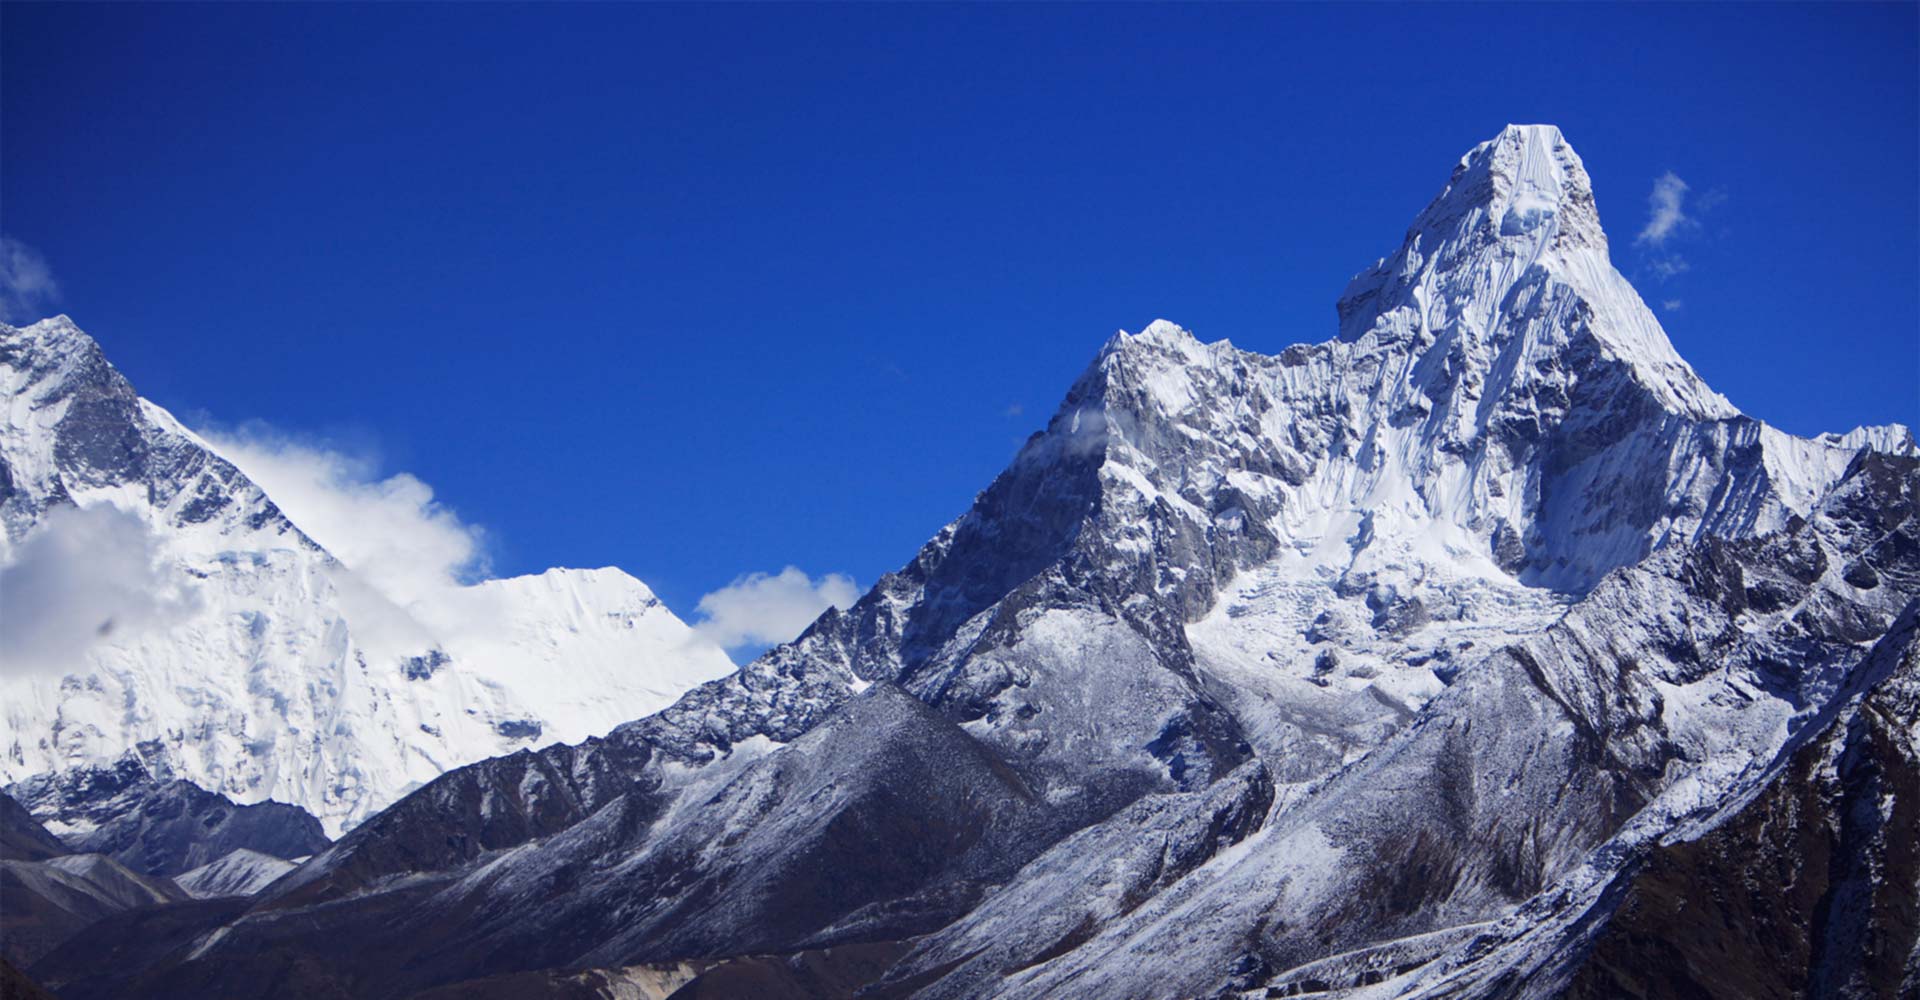
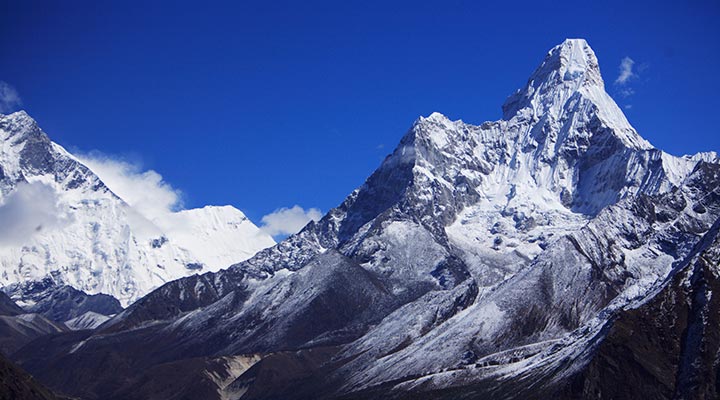
One of the renowned mountains in Himalaya is Ama Dablam (6,856m), means ‘Mother’s Necklace’. The long ridges on each side like the arms of a mother (ama) protecting her child, and the hanging glacier thought as the dablam, the traditional double-pendant containing pictures of the gods, worn by Sherpa women. Ama Dablam is also known as one of the most impressive mountains in the world.
OVERVIEW
One of the renowned mountains in Himalaya is Ama Dablam (6,856m), means ‘Mother’s Necklace’. The long ridges on each side like the arms of a mother (ama) protecting her child, and the hanging glacier thought as the dablam, the traditional double-pendant containing pictures of the gods, worn by Sherpa women. Ama Dablam is also known as one of the most impressive mountains in the world.
It’s not an 8,000 m mountain, but the mountain is very technical and dangerous because of the hanging glacier. That makes climbing Ama Dablam can be very hard. The most popular route is through Southwest ridge. Like Lobuche East, Ama Dablam located next to Everest Base Camp trek. The trek starts from Lukla and will turn at Pangboche that go straight to base camp. Though it’s still a long climb, require couple weeks going up and down for acclimatization and on to the summit.
Ama Dablam is not for novice climber. Great physical fitness needed and also good rope skills. We also require experience on high mountains before. Several climbers climb Ama Dablam as a training for K2 (second highest mountain in the world), and sometimes Everest.
ITINERARY
- DAY 1
- Fly to Kathmandu
Arrive in Kathmandu. Transfer to hotel in Thamel - DAY 2
- Kathmandu
Gear check in the morning and if necessary, you can go shopping in Thamel to complete your gear list. Sightseeing in Kathmandu and after that final packing. - DAY 3
- Kathmandu
Briefing about Ama Dablam at Ministry of Tourism. - DAY 4
- Kathmandu–Lukla (2,800m)–Phakding (2,650m)
Early in the morning, flight to Lukla. Continue trekking 3-4 hours to Phakding. Stay in lodge - DAY 5
- Phakding–Namche Bazaar (3,440m)
Trekking to Namche Bazaar, around 6-7 hours. Stay in lodge. - DAY 6
- Namche Bazaar–Everest View Point–Syangboche–Namche Bazaar
Acclimatization day. We go to Everest View Point hotel at 3,800m via Syangboche and acclimatize there. Back to Namche. Stay in Lodge - DAY 7
- Namche Bazaar–Tengboche (3,870m)
Trekking to Tengboche, around 6-7 hours. We might stay overnight at Tengboche or Debuche (10 minutes from Tengboche) in the Rhododendron forest. Stay in lodge. - DAY 8
- Tengboche-Upper Pangboche
Today, we will head to Upper Pangboche. We will meet the Lama at Pangboche to get a blessing for climbing Ama Dablam. Stay overnight at Upper Pangboche. - DAY 9
- Upper Pangboche-Ama Dablam Base Camp
We head for Ama Dablam Base Camp today. It’s situated on a large grassy meadow with a wonderful view. Stay overnight. - DAY 10
- Base Camp
We do Puja Ceremony today. A custom ceremony at Base Camp to ask for blessing and safety during the climb from the god before we start. - DAY 11
- Base Camp
Rest day. Better maximize the day to acclimatize, hydrate and rest properly. Wait for the Sherpa to set the camp. - DAY 12
- Acclimatization day
Climb to 4,900 m and back to Base Camp. - DAY 13
- Base Camp-High Camp
Today we move to High Camp (5,330m). Carry our climbing equipment to High Camp and stay overnight there for acclimatization. - DAY 14
- High Camp-Camp 1
Climb again to Camp 1 (5,800m) for another acclimatization. Stay overnight at Camp 1. We can drop some of our load at Camp 1. - DAY 15
- Camp 1-Base Camp
Back to Base Camp. - DAY 16 - 17
- Base Camp
Rest day and wait for good weather forecast to attempt the summit. - DAY 18
- Base Camp-Camp 1
To Camp 1: Your first real camp is only one and a half hours walk above Yak Camp. This section is marked by rock cairns and involves boulder hopping and some easy scrambling. You sometimes fix a couple of sections with a rope to be use as handrail. - DAY 19
- Camp 1-Camp 2
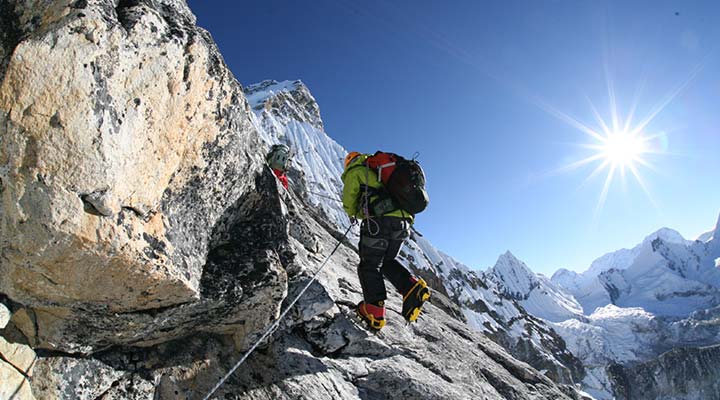
Move to Camp 2 (6,000m). This route mostly involves rock climbing. You follow a narrow ridge, switching back and forth on each side of the ridge. This is the hardest rock climbing of the entire route. In places the exposure is extreme and you will be grateful for the fixed ropes in place. You can also use your Jumar to help you over the odd spots of difficulties. Most of the climbing on this section is traversing on rock, so good rock-climbing skills will help you move efficiently and quickly over this terrain. - DAY 20
- Camp 2-Camp 3 (6,440m) or Camp 2.7
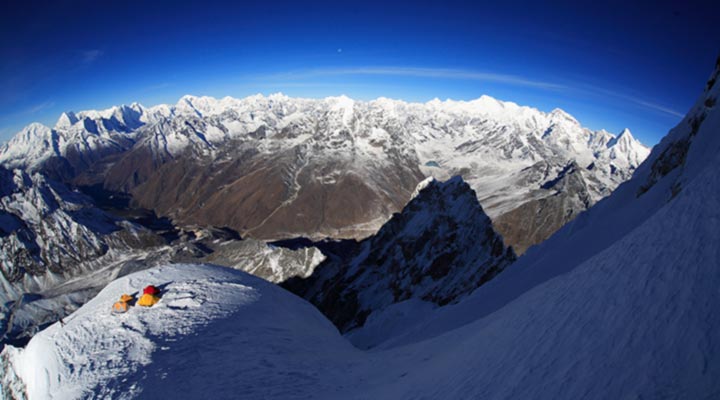
Now, for the hardest snow and ice pitches of the route, we follow a system of steep snow and ice gullies up to join a feature called the Mushroom Ridge. Whilst the ridge itself is not as technical as the gullies leading up to it, the exposure here is palpable. It is a narrow, windy, snow mushroom like ridge with giant Himalayan peaks in the background. This feature leads us up onto a small plateau at 6,300m, which serves the purpose of camp 3. As the alternative we will make a camp on 2.7 on the Mushroom Ridge, in order to avoid any serac danger from the Dablam. - DAY 21
- Camp 3-Summit-Camp 2
Summit day. The initial route is to the right of the huge ‘Dablam’ (ice cliff), up a moderately steep slope. Once past this feature, we move toward the center of the face. The angle eases slightly and a couple of tough hours later we emerge on the summit (6.856m). The summit is the size of a tennis court and allows us to move around and take pictures. Five of the world’s six highest peaks are clearly visible, with many other 7,000m and lesser peaks filling the gaps. - DAY 22
- Camp 2-Base Camp
Descend to Base Camp. - DAY 23 - 26
- Base Camp
Rest day before trekking back and also spare days in case of bad weather. - DAY 27
- Base Camp-Namche Bazaar
Trekking back to Pangboche and stay overnight in the lodge. - DAY 28
- Namche Bazaar-Lukla
Go back to Lukla. It’s quite a long trek back to Lukla from Namche. Estimation time is about 5-6 hours. Stay overnight in Lukla. - DAY 29
- Lukla-Kathmandu
Fly back to Kathmandu in the morning. You can take another sightseeing tour as an addition or just wandering around Thamel for shopping - DAY 30
- Kathmandu
Rest at Kathmandu - DAY 31
- Fly back home
Fly back home. End of expedition
INCLUDE
- Airport transfer in Kathmandu
- Nepal Visa
- 4 nights hotel (twin share) in Kathmandu
- Full meals in Kathmandu
- Flight from Kathmandu to Lukla round trip
- Indonesia Expeditions guide
- Porters or Yak support to Base Camp
- Full meals during trekking & climbing
- Accommodation in the lodge during the trekking
- Climbing permit for Ama Dablam
- Garbage deposit fees
- National Park permit (Trekking permit)
- Trekkers Information Management System (TIMS) card
- All expenses and Insurance of liaison officer (Nepal Government)
- Sherpa support on the mountain (3 climber: 1 Sherpa)
- High altitude Sherpa with equipment
- Cook at Base Camp
- All Nepali staff wages and insurance
- Sleeping tents, dining tent, toilet tent (basecamp only)
- Cooking stove and cutlery
- Group’s climbing equipment (rope, picket, ice screw, etc)
- First aid kit & Rescue Assistance
- Communication device like Satellite phone & walkie-talkie in case of emergency (Use pay)
- Emergency Oxygen with regulator and mask while on Ama Dablam expedition (Use pay)
- Government of Nepal Ama Dablam Expedition tax
EXCLUDE
- International flight to Kathmandu round trip
- Personal natural expense (telephone, laundry, etc)
- Emergency evacuation by Helicopter
- Personal equipment
- Personal Insurance
- Climbing Summit bonus for Sherpa and Tips for all Guides and Nepalese staffs.
PREPARATION
Ama Dablam is a very technical mountain. You need to have good rope skills. Practice using ascender and descender several times before going on this expedition. Even if you already used to, it’s always good to refresh your skills. Rock climbing training also needed. Aim to climb routes at 5.8-5.9 grade using your mountaineering boots. You can do these training at the rock-climbing gym in your hometown.
You also required to have great physical fitness. The height is almost 7,000m. We recommend highly you have an experience on high altitude, at least above 5,000m.
Training should focus on cardiovascular capability. you can do running two to three times a week for 1-1.5 hour per session. Running on a route that have elevation gain will be a lot better, or use treadmill if there’s no such terrain in your hometown. You can change one of your running sessions in a week with cycling or swimming and especially you need to do also stair climbing with at least 10kg pack and up to 20kg. It will be a good cross training. Besides that, muscle training is advisable. Strengthen your upper and lower body muscle, as well core muscle. You can do it at the gym or do your own set of push-ups, sit-ups, pull-ups, plank, etc.
In addition, go weekend hiking regularly. It’s highly advisable for you to be able to walk with 20kg pack in a long time. It can be started with 8 km round trip hike with roughly 10kg pack, ascending and descending 600m, in less than 2.5 hours. The aim is to ascend 900m carrying an average pack of 20 kg in 3 hours. To reach it, try to increase the difficulty of your training in some way, either by adding weight to your pack (no more than 10 percent per week) or by completing the hike in a shorter amount of time.
The capability to acclimatized are different for each person. So, building up your fitness even more will not be a waste. Just make sure you don’t injure yourself by overtraining and always have enough rest. You need to train 6 months before, not less. Besides these conditioning, we require you to have experience on high mountains.
GEAR LIST
| No | Name | Amt |
|---|---|---|
| 1 | Trekking boots | 1 pair |
| 2 | Double boots | 1 pair |
| 3 | Crampons | 1 pair |
| 4 | Gaiters | 1 pair |
| 5 | Trekking Pole | 1 pair |
| 6 | Ice Axe | 1 |
| 7 | Climbing helmet | 1 |
| 8 | Climbing Harness | 1 |
| 9 | 1.5 meters of 7mm prusik/Accessory cord | 2 |
| 10 | Locking carabiners | 3 |
| 11 | Non-locking carabiners | 2 |
| 12 | Ascenders | 1 |
| 13 | Rappel device | 1 |
| 14 | Booties (optional) | 1 pair |
| 15 | Wool or Synthetic socks | 3 pair |
| 16 | Liner socks | 2 pair |
| 17 | Midweight Baselayer Top (amount based on preferences) | 3 - 4 |
| 18 | Midweight Baselayer Bottom (amount based on preferences) | 3 - 4 |
| 19 | Trekking/Soft Shell pants | 2 |
| 20 | Soft Shell Jacket/puffy | 1 |
| 21 | Hard Shell Jacket w/ hood | 1 |
| 22 | Hard Shell pants | 1 |
| 23 | Insulated jacket/down jacket | 1 |
| 24 | Insulated synthetic pants | 1 |
| 25 | Baseball cap | 1 |
| 26 | Beanie | 1 |
| 27 | Buff (amount based on preferences) | 2 |
| 28 | Glacier glasses | 1 |
| 29 | Ski Goggles | 1 |
| 30 | Lightweight synthetic liner gloves | 1 pair |
| 31 | Mediumweight gloves/Ski Gloves | 1 pair |
| 32 | Insulated Mittens | 1 pair |
| 33 | 30L Backpack | 1 |
| 34 | Sleeping bag at least -20°C | 1 |
| 35 | Self-Inflating mattress | 1 |
| 36 | Closed-cell foam pad | 1 |
| 37 | Headlamp with spare batteries | 1 |
| 38 | Sunscreen, SPF 40 or better | 1 |
| 39 | Lip screen, SPF 30 | 1 |
| 40 | 1 Litre water bottle or water bladder | 2 |
| 41 | 1 Litre thermos | 1 |
| 42 | Pee Bottle | 1 |
| 43 | Toiletry bag | 1 |
| 44 | Large Duffel Bag | 1 |
| 45 | First aid kit and special medications (if any) | 1 |
| 46 | Camera | 1 |


